A. Calibrating a Broomstick
The Sun On The floor IKA 1996
It is very easy to turn a broom into a rather precise scales. Before we discuss the idea, look at Photo 1. What is shown here is an antique scale used by merchants to weigh goods (pieces of meat?). The stick, with a heavy bulk of
iron at one end and a hook at the other, is encrusted with brass pegs along its length in decreasing intervals. Pivoted on the edge of anything suitable, this scale has been brought to balance with whatever was hooked on its end. The number of pegs counted from the centre of the mass
C (marked on the peg) to the pivot, determined the weight of what was on the hook.
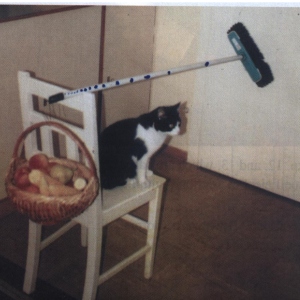
The broom we use (Photo 2) has a loop at its upper end. With a hook made of a paper clip and with a shopping basket we turned the broom into a scales in the following way: the broom with the shopping basket was pivoted on the back of a chair. The C point was marked on the stick. Now,
taking from the kitchen various things with known weight: a 1 kg bag of sugar, a 100 g chocolate bar, 8 g baking powder, 500 g bag of noodles, we were able to mark a balance point (a pivot) for each of the mass used. Next, we produced the calibration graph, i.e. distance x between the balance point and the centre of mass
C versus weight of the goods W. This calibration curve allows us to find any mass for which we can identify a pivot. (See Fig. A)
Fig. A
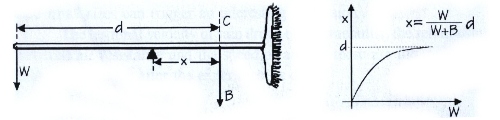
Can you locate on this graph the weight of the broom? It is amazing how sensitive these scales are for very small masses (about 2mm/g) and how heavily loaded a basket you can weigh. We would leave it to students' individual invention to produce a similar scales of much smaller size, made for really small masses.
Photo 1
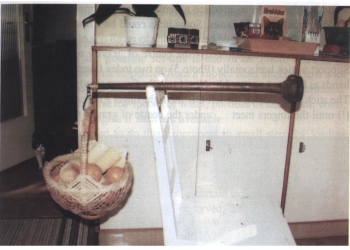
Photo 2
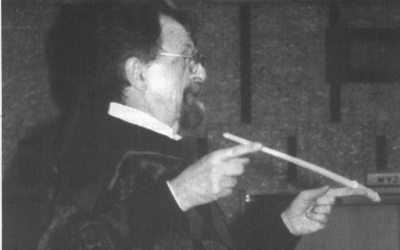
Aa. Perhaps it would be interesting to recall one of the old methods of finding - even blindfolded - the centre of gravity of a long object: Support a stick horizontally (Photo 3) on two index fingers. Start with the hands as far apart as possible. Now bring the fingers slowly closer together. The stick will slide on the left OR the right finger
- never on both at once (!) until the fingers meet.... under the centre of gravity C of the stick.
Photo 3
See also Exp. 1. and 2. which are based on the same principle. Force of friction = coefficient of friction multiplied by normal force, or
F = µN
Here, µ is constant. Downward (normal) force N depends on how far your finger is from C. The closer your finger the larger the force is, hence the larger force of friction. The finger that slides along the stick is always the one further away from C, for which the frictional force is smaller.
Exp.1. Loop the loop
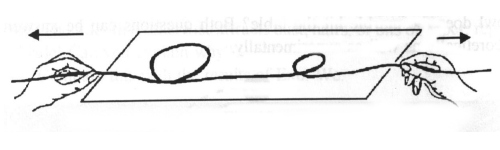
Fig. B shows a rope with two uneven loops. When you pull the rope from both sides the loops will form tight knots. Which one will close first? The larger or the smaller one? Guess, before you check. Try to find a reason for your findings. Do you see any relation between this experiment and the one described in Exp. Aa?
Fig. B
Exp.2. Balancing coin

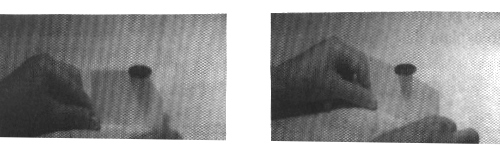
A coin resting on a folded postcard (Photo 5a) will not fall off even if you stretch the card (carefully - of course!) (Photo 5b). Once you have successfully balanced the coin on the stretched, unfolded card, ask someone to take the coin off the card and then put it back into place. It will be hard, although not impossible. If you see any relation between this experiment and the one before, you
are on the right track! Isn't this experiment also very similar to that with a broomstick? (See Exp. Aa)
Photo 5a
Photo 5b
do góry